Raster
This exercise is a bonus that goes along with the previous exercise on vector data. We don't necessarily need to rasterize our data, but this shows you how to do it in case in the future you want to use a raster calculator, render vector data as a single polygon instead of many polygons, or for other analysis.
Rasterize (vector to raster)
To rasterize vector data:
- Click on "Raster" at the top of the screen.
- Next, go to "Conversion" and then click on "Rasterize (Vector to Raster)..."
- Make sure that you have the correct vector "Input layer" that you want to rasterize. It should still be named "Refactored."
- For the "Field to use for burn-in value" choose "drinking_water_percentile." Next, change the "Output raster size units" to "Pixels," and the "Width" and "Height" to 1,000 and 1,000.
- Click "Run" and then "Close."
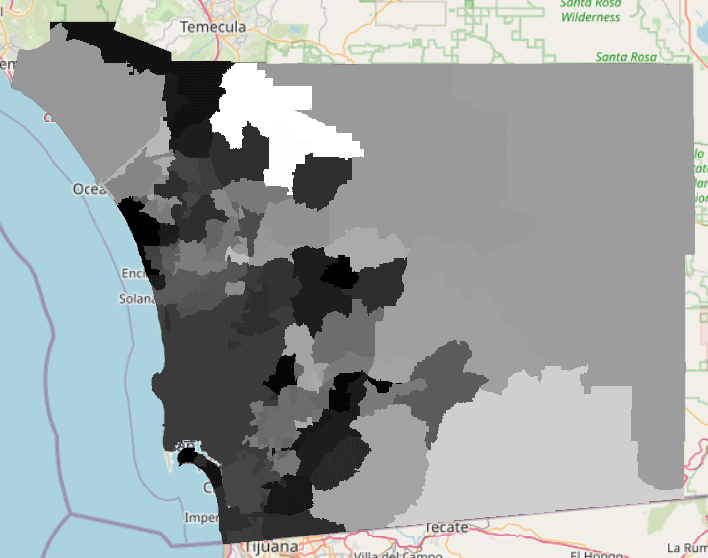
Your water percentile data has now been rasterized. You should see something like this:
If you would like to save this, right click on the "Rasterized" layer, go to "Export" and click "Save As..." Click the 3 dots to the right of "File name." First select the correct path where you would like to save it. It should be saved in the folder for this exercise. Then name the file in "File name." Then, click "Save."
You should notice that the file extension is ".tif." Also, at the top, the "Format" says "GeoTIFF." Remember from the Spatial data and its types lesson that this is the correct format. Finally, click "OK." You are now able to delete the temporary "Rasterized" layer, as you now have a new layer saved.
Test your knowledge
What does rasterized data refer to?
Didn't get the correct answer?
Question 1:
Refer back to the Rasterize section of this exercise.